Anyone looking for how to fix a blown speaker is coming from a disturbing place. When a speaker blows, it can be frustrating. You might not be able to listen to your music as loud as you want or you might not be able to hear it at all. There are some things you can do to try and fix a blown speaker. But first, let us be sure the speaker is blown in the first place.
What Is The Best Way To Know If A Speaker Blows?
There’s nothing worse than being in the middle of a good groove and suddenly your speaker starts to blow. It can be your car speakers or the ones for home entertainment. Well, here are a few tell-tale signs:
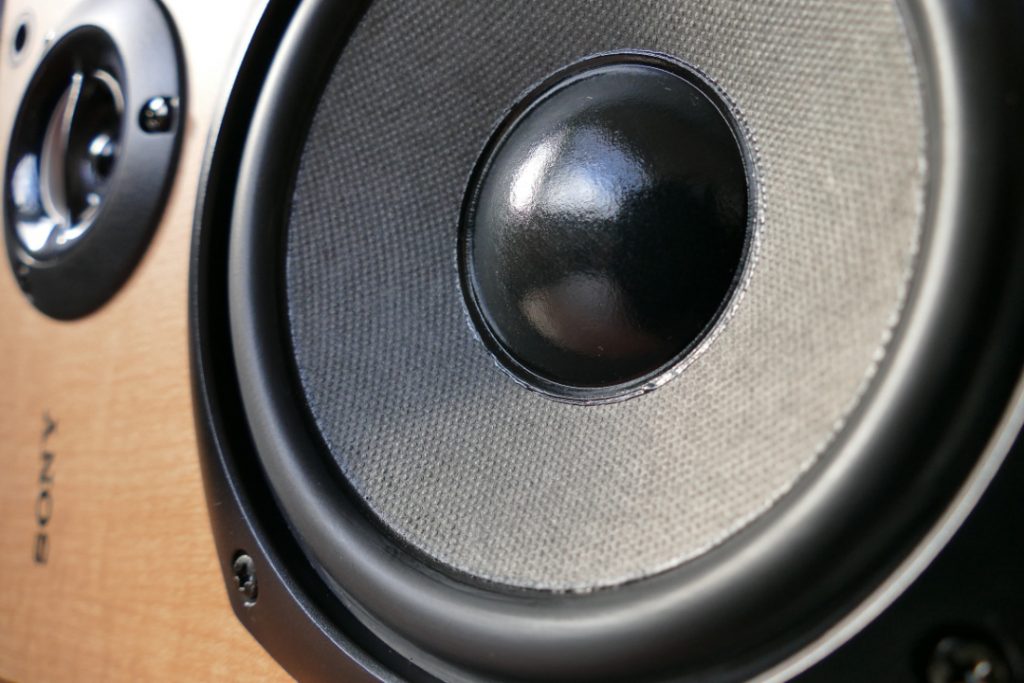
The sound quality starts to degrade. This bad sound is usually the first sign that something is wrong. If you notice that the speaker suddenly sounds muffled or tinny, it’s likely that the speaker is starting to blow.
The speaker volume decreases. Another common symptom of a speaker blowing is that the volume starts to decrease. This is because the speaker cone is no longer able to move as freely, so it can’t produce as much sound.
There’s a popping or scratching sound. This is another distinctive sign that a speaker is going bad. If you hear popping or crackling, that is a blown speaker sound. It means that the speaker cone is beginning to tear. Once this happens, it’s only a matter of time before the speaker completely blows.
So, next time you’re wondering “is my speaker blowing,” keep an ear out for these signs and you’ll be able to tell for sure.
ALSO READ: How To Soundproof A Bathroom? (5 Easy Ways)
What Are The Causes Of A Blowing Speaker?
Firstly, the speaker might be too old and the material might have degraded over time. Secondly, the speaker might have been played at too high a volume for too long, causing the material to wear out. Finally, there might be a problem with the electrical connection, causing a short circuit that can damage the speaker. If you notice that your speaker is starting to sound distorted or blowing out, it’s best to take it to a professional to get it checked out. Ignoring the problem could cause further damage to the problematic speaker or even result in an electrical fire.
How Can I Fix Blown Speakers?

If you are a little bit tight on the budget or you just want to engage fingers in some interesting acrobatics, taking your blown speaker to a technician might not be the first thing on your mind. If you want to fix your blown speaker yourself, here are some helpful ways to go about it.
ALSO READ: Save Money and Protect Your Space: How to Seal a Garage Door From the Inside
Find The Blown Speaker
You can usually find the blown speaker by starting with the volume control. Turn your speaker up to about half the volume and listen carefully. Then, turn each speaker on one at a time until you hear crackling or distortions coming from the speaker. If you don’t hear anything, that particular speaker is probably not blown. If you do hear something, however, turn the volume back down and move on to the next step.
Find The Problem
First, take a look at the speaker itself. If the cone is damaged or loose, then that’s probably the issue. Another possibility is that the voice coil is damaged. This is a more serious problem, and it will likely require replacement. Finally, it’s possible that the crossover is damaged. This component helps to filter out high and low frequencies, so if it’s not working properly, it can cause all sorts of problems. If you’re not sure which component is causing the issue, then the best course of action is to take the speaker to a professional for repair. With a little troubleshooting, you should be able to figure out what’s wrong and get your speaker sounding great again in no time!
ALSO READ: How To Stop Refrigerator From Buzzing
Prepare The Area And Order Replacements
Before you start tearing apart your home entertainment center, there are a few things you need to do to prepare the area and order the right replacements.
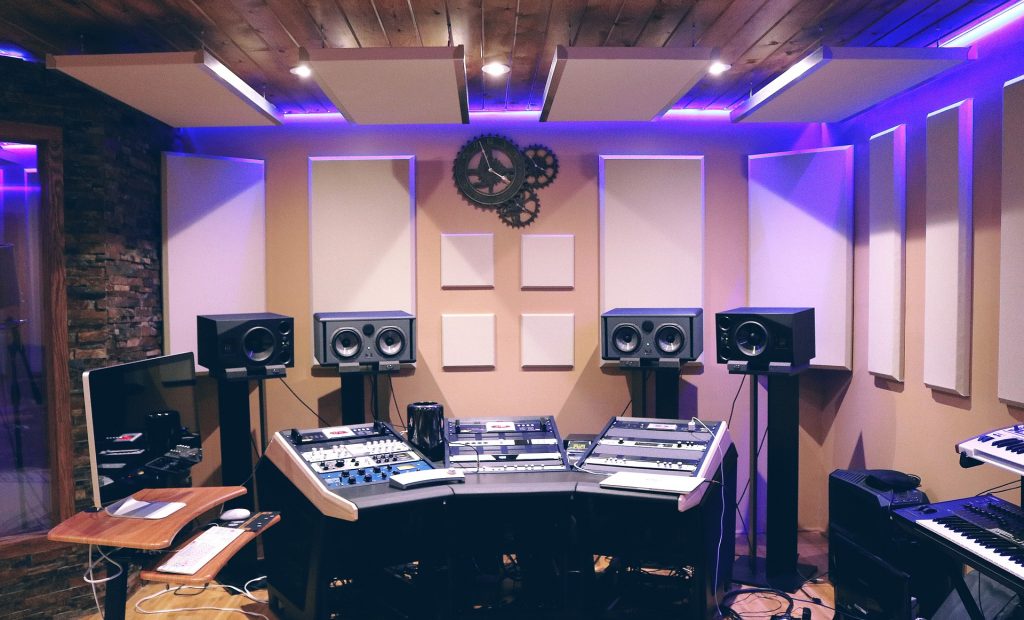
First, take a close look at your current speakers to determine the size and type of replacements you’ll need. Once you’ve done that, measure the space where the speakers will go to make sure the new ones will fit. Then, clear out the area around the speakers so you’ll have plenty of room to work.
Now it’s time to order your replacement speakers. When you’re doing this, it’s important to pay attention to reviews to make sure you’re getting a quality product. Once your new speakers arrive, it’s time to get down to business and install them. And with that, you’ll be one step closer to having a home entertainment system that sounds as good as it looks.
ALSO READ: How To Fix A Squeaky Office Chair
Fixing Blown Speakers Due To An Electrical Fault
You will need:
- A screwdriver
- Wire cutters
- Electrical tape
- Soldering iron and solder
- A new speaker (optional)
Fixing the Blown Speaker:
1. Remove the screws from the back of the speaker using a screwdriver.
2. Carefully remove the back cover of the speaker.
3. Locate the blown speaker. It will usually have a burnt mark or hole in it.
4. Cut the wires leading to the blown speaker using wire cutters.
5. Strip the ends of the wires using wire strippers.
6. Solder the wires to the terminals of the new speaker.
7. Cover the soldered connection with electrical tape.
8. Replace the back cover of the speaker and screw it in place.
How To Patch A Ripped Cone
You’ll need:
- A small piece of cloth or paper
- Scissors
- Tape
- A marker or pen
- A toothpick or small blunt object
- Superglue or another strong adhesive
First, take a close look at the damaged area of the speaker cone. You’ll want to cut a piece of cloth or paper that’s just big enough to cover the hole, with a few mm to spare all around. Once you have your piece cut out, use tape to attach it securely over the hole. Make sure there are no air bubbles trapped underneath, as this will affect the sound quality.
Next, take your marker or pen and make a small dot in the center of the patch. This will be your starting point. Using a toothpick or other small blunt object, make a hole through the cloth and into the cone. Start at the dot and work your way around in a spiral motion, being careful not to apply too much pressure.
Once you’ve made your way around the circumference of the cloth, remove the toothpick and take a look at your handiwork. If everything looks good, it’s time to move on to the next step. If not, try repositioning the cloth and repeating the process until you’re satisfied with the results.
Now it’s time to glue the cloth in place. Apply a generous amount of superglue or other strong adhesives to the underside of the cloth, making sure to get into all the nooks and crannies. Then, carefully place the cloth over the hole in the speaker cone, being careful not to touch the adhesive. Hold it in place for a few seconds to allow the glue to set, then leave it to dry for 24 hours.
And that’s it! Once the adhesive has had time to cure, your speaker cone will be as good as new. Just remember to take it easy on the volume next time you’re having a party.